 UAE
UAE
 USA
USA CA
CA Australia
 UK
UK Europe
 New Zealand
 Japan
Japan Singapore
 India
IndiaClarity Fold Touch 27" 4K UHD Monitor with 65W Power Delivery, Webcam, Touchscreen & Fold Stand


Clarity Fold Touch 27" 4K UHD Monitor with 65W Power Delivery, Webcam, Touchscreen & Fold Stand
Clarity Fold Touch 27" 4K UHD Monitor with 65W Power Delivery, Webcam, Touchscreen & Fold Stand
Couldn't load pickup availability
Specifications
Specifications
“Alogic Clarity Pro Touch Display – Best touchscreen display for Mac”
"This versatile 27in 4K touchscreen monitor, with a built-in webcam and 65W power delivery, is perfect for creative professionals."
"Alogic’s Clarity Pro Is An Affordable Alternative To Apple’s Studio Display"

The Best Monitors for Photo Editing in 2024
“Alogic's New Clarity Pro Displays Include a Retractable Webcam and Optional Touchscreen Functionality”
The World's Leading
for Mac and Windows


65W USB-C Charging Dock
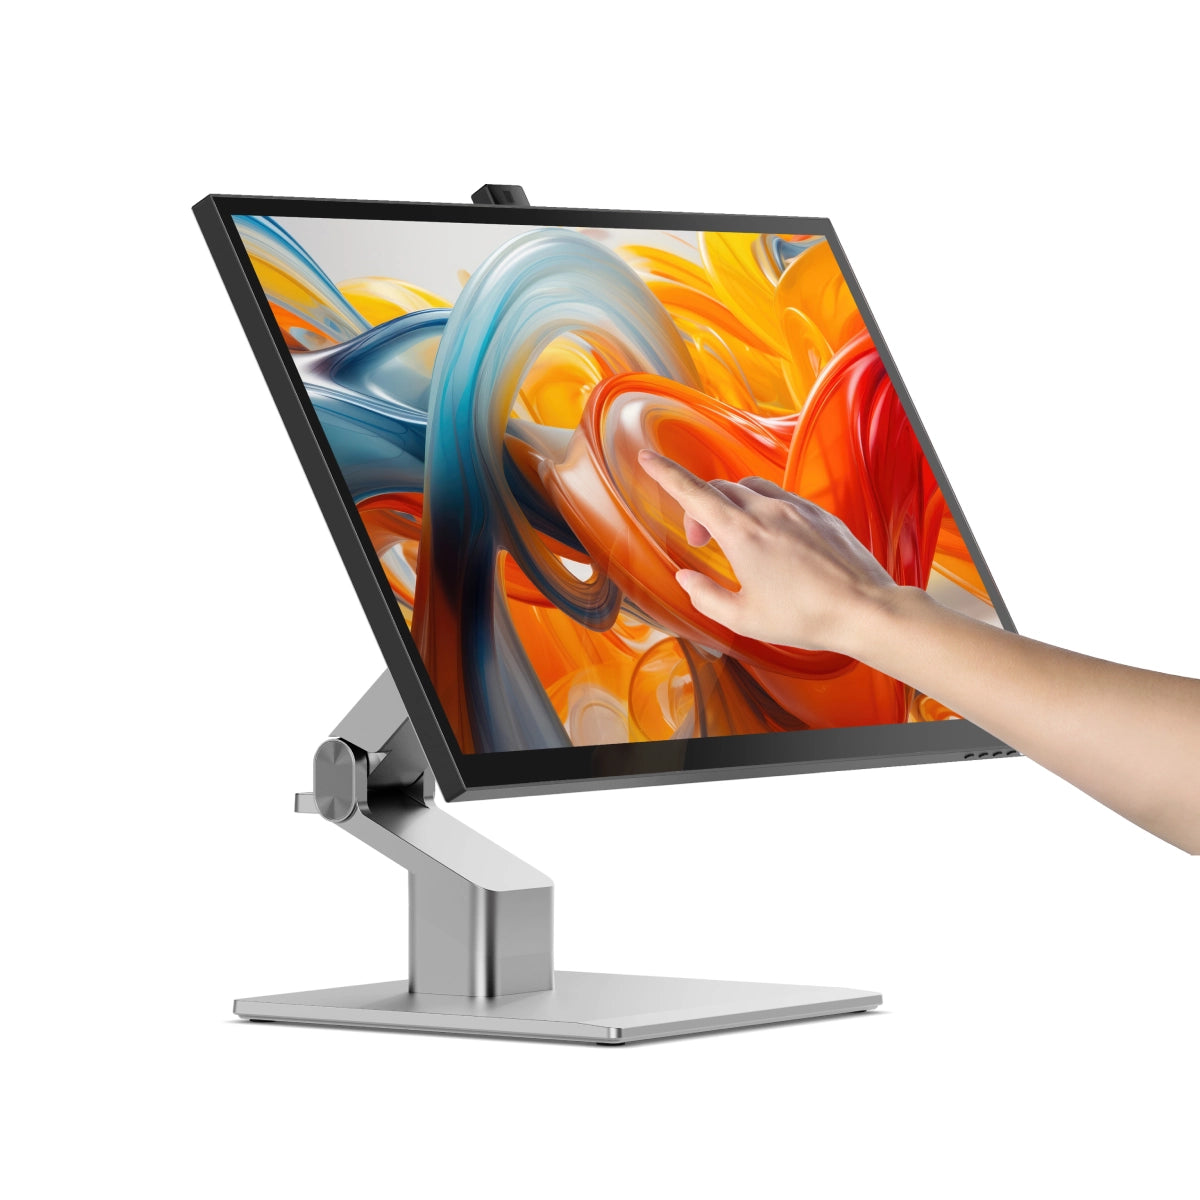
Unrivalled 4K Touchscreen
Edge To Edge Display
From graphic designers to document signers, professionals around the world rely on Clarity Touch’s precision 4K touchscreen to simplify their workflow. With intuitive multitouch gestures and precision stylus support, Clarity Touch empowers you to use your Mac or Windows computer like a 27” iPad™.


3840x2160
Resolution
16:9
Aspect Ratio
350 nits
Max Brightness
60Hz
Refresh Rate
178°
Viewing Angle
100%
sRGB

Legal
Clarity Touch allows judges, attorneys, and witnesses to easily navigate, annotate and sign documents and other evidence, streamlining trial preparation and enhancing presentations.

Architects
With the Clarity Active Stylus, architects can easily create, modify and mark up digital blueprints and plans, while multitouch makes it easy to review and present designs to stakeholders.

Healthcare
Clarity’s intuitive multitouch makes it painless to review X-rays with patients, while the Clarity Active Stylus allows doctors to quickly mark up images and sign key documents.

Manufacturing
Clarity Touch lets engineers get hands on with their designs in the preproduction phase, then use the precision stylus to mark-up required changes for the next revision.
Clarity’s glossy screen delivers sharp, vibrant and accurate colours, perfect for use in bright home offices, with 100% sRGB coverage and an Avg. ΔE well below 1.
Clarity Touch’s glorious 27” 4K (3840x2160) screen gives you plenty of screen space for multitasking with two windows side by side, or examine the finest details of your latest creation.
Whether you rely on Mac or Windows to get things done, rest assured knowing Clarity’s intuitive multitouch gestures and pressure-sensitive stylus support are fully supported by your favourite applications.


When paired with the snap-on Clarity Active Stylus (sold separately), Clarity Touch becomes the perfect drawing board for your next big idea, or a convenient way to annotate or sign documents your business requires.
4096 levels of pressure sensitivity and tilt-support make our stylus ideal for use in Photoshop, Illustrator and other apps that artists love, while everyone can appreciate its months-long battery life and pairing-free connectivity.
Clarity Touch’s ergonomic stand folds down in seconds into a sturdy, supportive surface for hours of comfortable stylus use. When you’ve finished with the stylus, it’s easy to raise the monitor up to a comfortable eyeline for everyday work.
Clarity Touch’s smart pop-up webcam is perfectly positioned to capture your best angle. When the call is over, the webcam automatically slides down into the monitor, protecting your privacy.
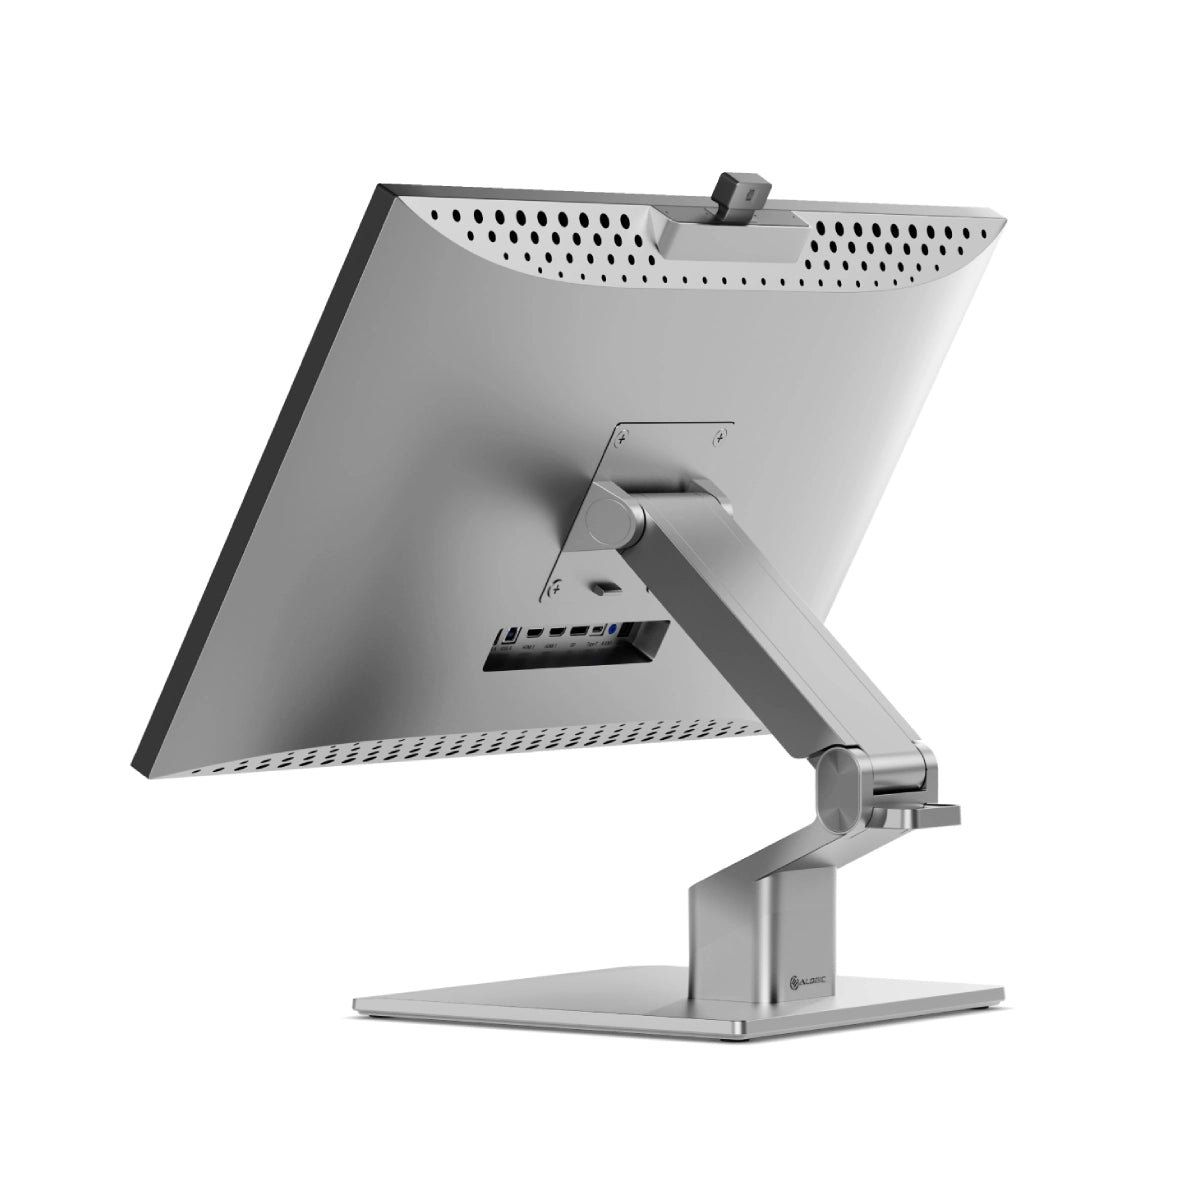
The robust USB-C hub integrated into every Clarity monitor takes the complexity out of connectivity by recharging your laptop and linking it to two USB devices.

USB-A Ports
For your favourite accessories
USB-B Port
Data connection for old computers.
HDMI Ports
Provides 4K video
DisplayPort
Provides 4K video
USB-C Port
4K video & 65W laptop charging
Audio Output
For headphones or speakers
Power Input
Powers your monitor
USB-A Ports
For your favourite accessories
USB-B Port
Data connection for old computers.
HDMI Ports
Provides 4K video
DisplayPort
Provides 4K video
USB-C Port
4K video & 65W laptop charging
Audio Output
For headphones or speakers
Power Input
Powers your monitor

General
However, it does need to plug into a USB-C port compatible with PD (Power Delivery) on your computer.
These can sometimes be identified by the presence of a battery icon next to the port on your laptop, but often you’ll need to check the user manual or manufacturer’s website to figure out which USB-C ports support PD.
All Thunderbolt 3 and 4 ports support PD.
1. Remove the Clarity Fold Stand from its packaging and insert the stand stem into the base. Secure these with the thumbscrew underneath the fold stand’s base.
2. Place your Clarity Touch monitor face down on a secure, flat surface like a table. 3. Insert the stand’s monitor plate into the VESA mount on the back of your Clarity Monitor, then secure it in place with the four mounting screws provided.
Touchscreen
On Windows, and Mac with our Touch Screen Drivers installed, Clarity also supports most active styluses using the Microsoft Pen Protocol (MPP) 2.0 or later. This includes the ALOGIC Active Surface Stylus (ALASS).
However, Clarity Pro Touch may not take advantage of all the functions of a stylus, such as pressure sensitivity and shortcut buttons.
Troubleshooting
To resolve the issue, restart Clarity by pressing the power button twice – it should recognize the connected device as part of its boot-up sequence.
Connect Clarity directly to your computer
Try connecting with a different cable or port.
ie. Use DisplayPort instead of USB-C
Update your computer’s operating system.
If your problem reoccurs and these these steps do not help resolve it, please contact ALOGIC support (support@alogic.co).
Webcam
Open a program which requires the webcam – on Windows 11 we recommend the “Camera” app or “Photo Booth” on macOS.
Open this application and switch the active camera to Clarity Pro’s – this can be done via the “Camera” menu in Photo Booth or hitting the “Switch Camera” button in Camera – see below.
Once you’ve activated Clarity Pro’s webcam, it will slide up out of the monitor. You can now adjust its vertical framing using the scroll wheel on the rear of the camera.
2. Then ensure that any program accessing your webcam has been closed. This can include messaging, livestreaming, audio recording and video capture applications.
3. Ensure Clarity’s active USB is set to the USB cable connecting your computer and Clarity, USB-C or USB-B. You can find this option in Clarity's menu by navigating to USB-Options --> USB Switch.